FAKRO LST – A Trimless Ceiling Finish
A trimless finish uses a drywall L-bead instead of the factory trim to create a narrow, even gap around the FAKRO LST door.
This finish requires experience with attic ladder installation and drywall finishing. If needed, use a qualified installer.
The finished LST opening in a hallway ceiling.
Finished LST opening
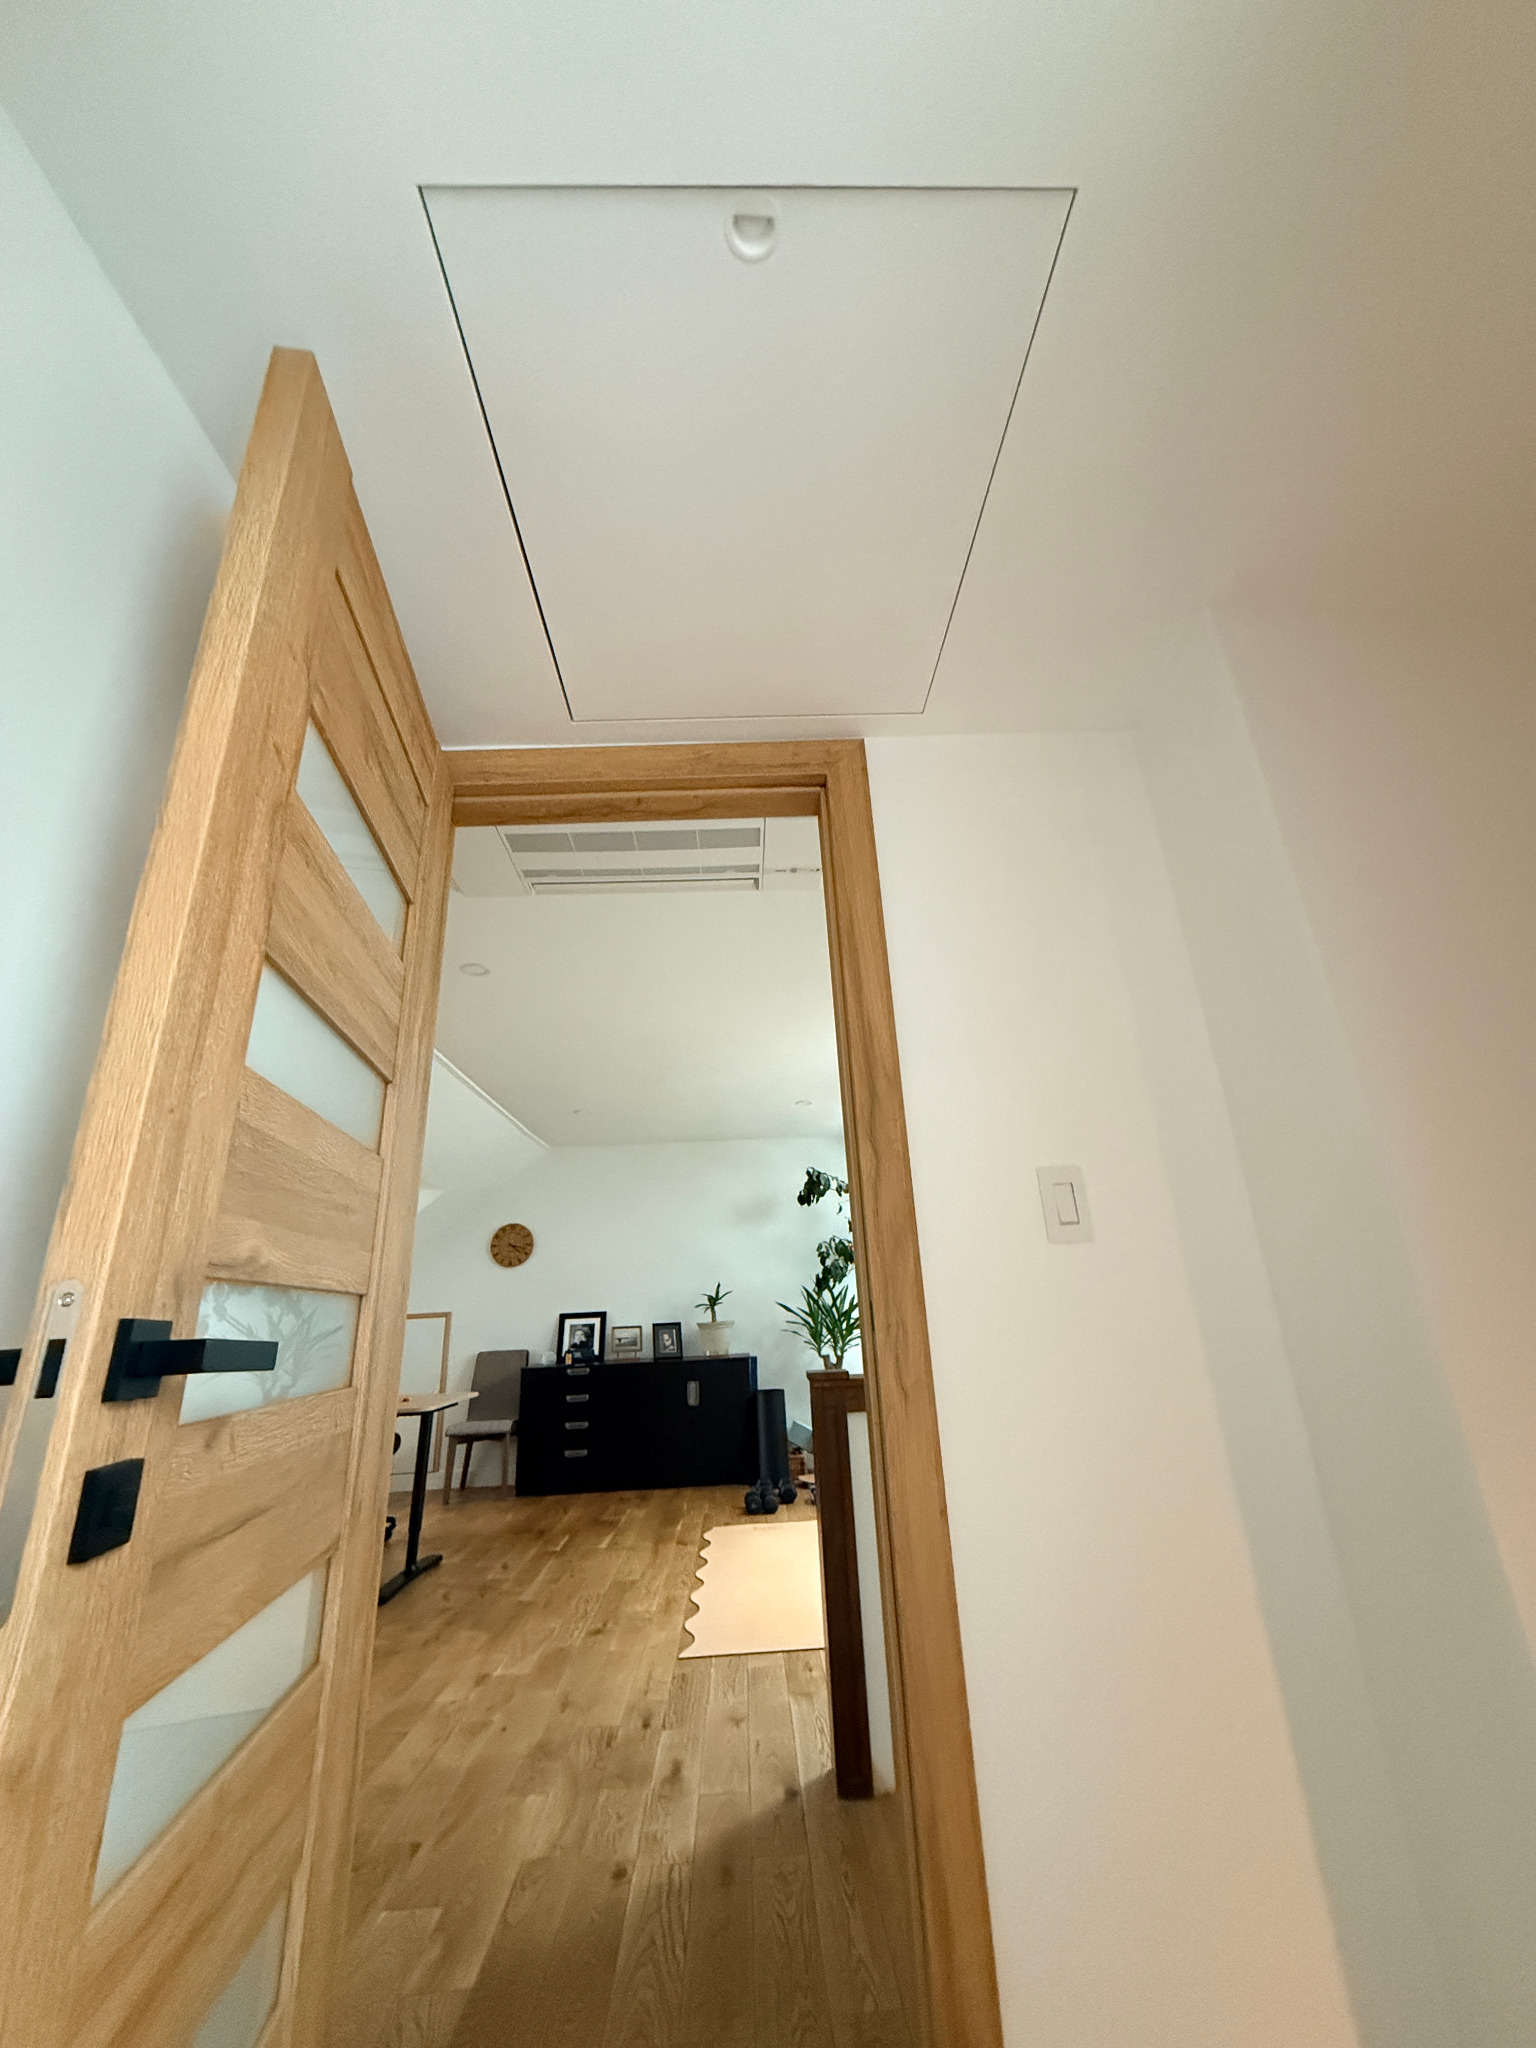
The finished LST opening in a hallway ceiling.
Plan the opening
Size the rough opening on site
Measure the outside dimensions of the LST frame before preparing the rough opening. The opening may be slightly smaller than the recommended size, but must allow room to position, shim, and secure the frame.
Choose the installation sequence
Finish the ceiling first
Use the measured frame and door dimensions to position the drywall L-bead. You can also temporarily position the ladder to mark its location. Support it as shown in the LST installation instructions, then remove it before finishing the drywall.
Skip Install the ladder from the attic for now and go to Fit the drywall L-bead. Once the ceiling finish is dry, return to Install the ladder from the attic.
Install the ladder first
Follow the sections below in order.
Install the ladder from the attic
Do not install the included white metal factory trim.
If there is enough room in the attic, lower the assembled LST into the opening from above. Support it while positioning the frame. Square, level, shim, and secure the frame to the surrounding framing, then adjust the ladder to the ceiling height, following the LST installation instructions.
If you install the ladder before finishing the ceiling, mask the door to protect it from joint compound, primer, and paint.
LST installed before finishing the surrounding drywall.
Drywall edge alongside the LST frame.
Unfinished LST ceiling opening
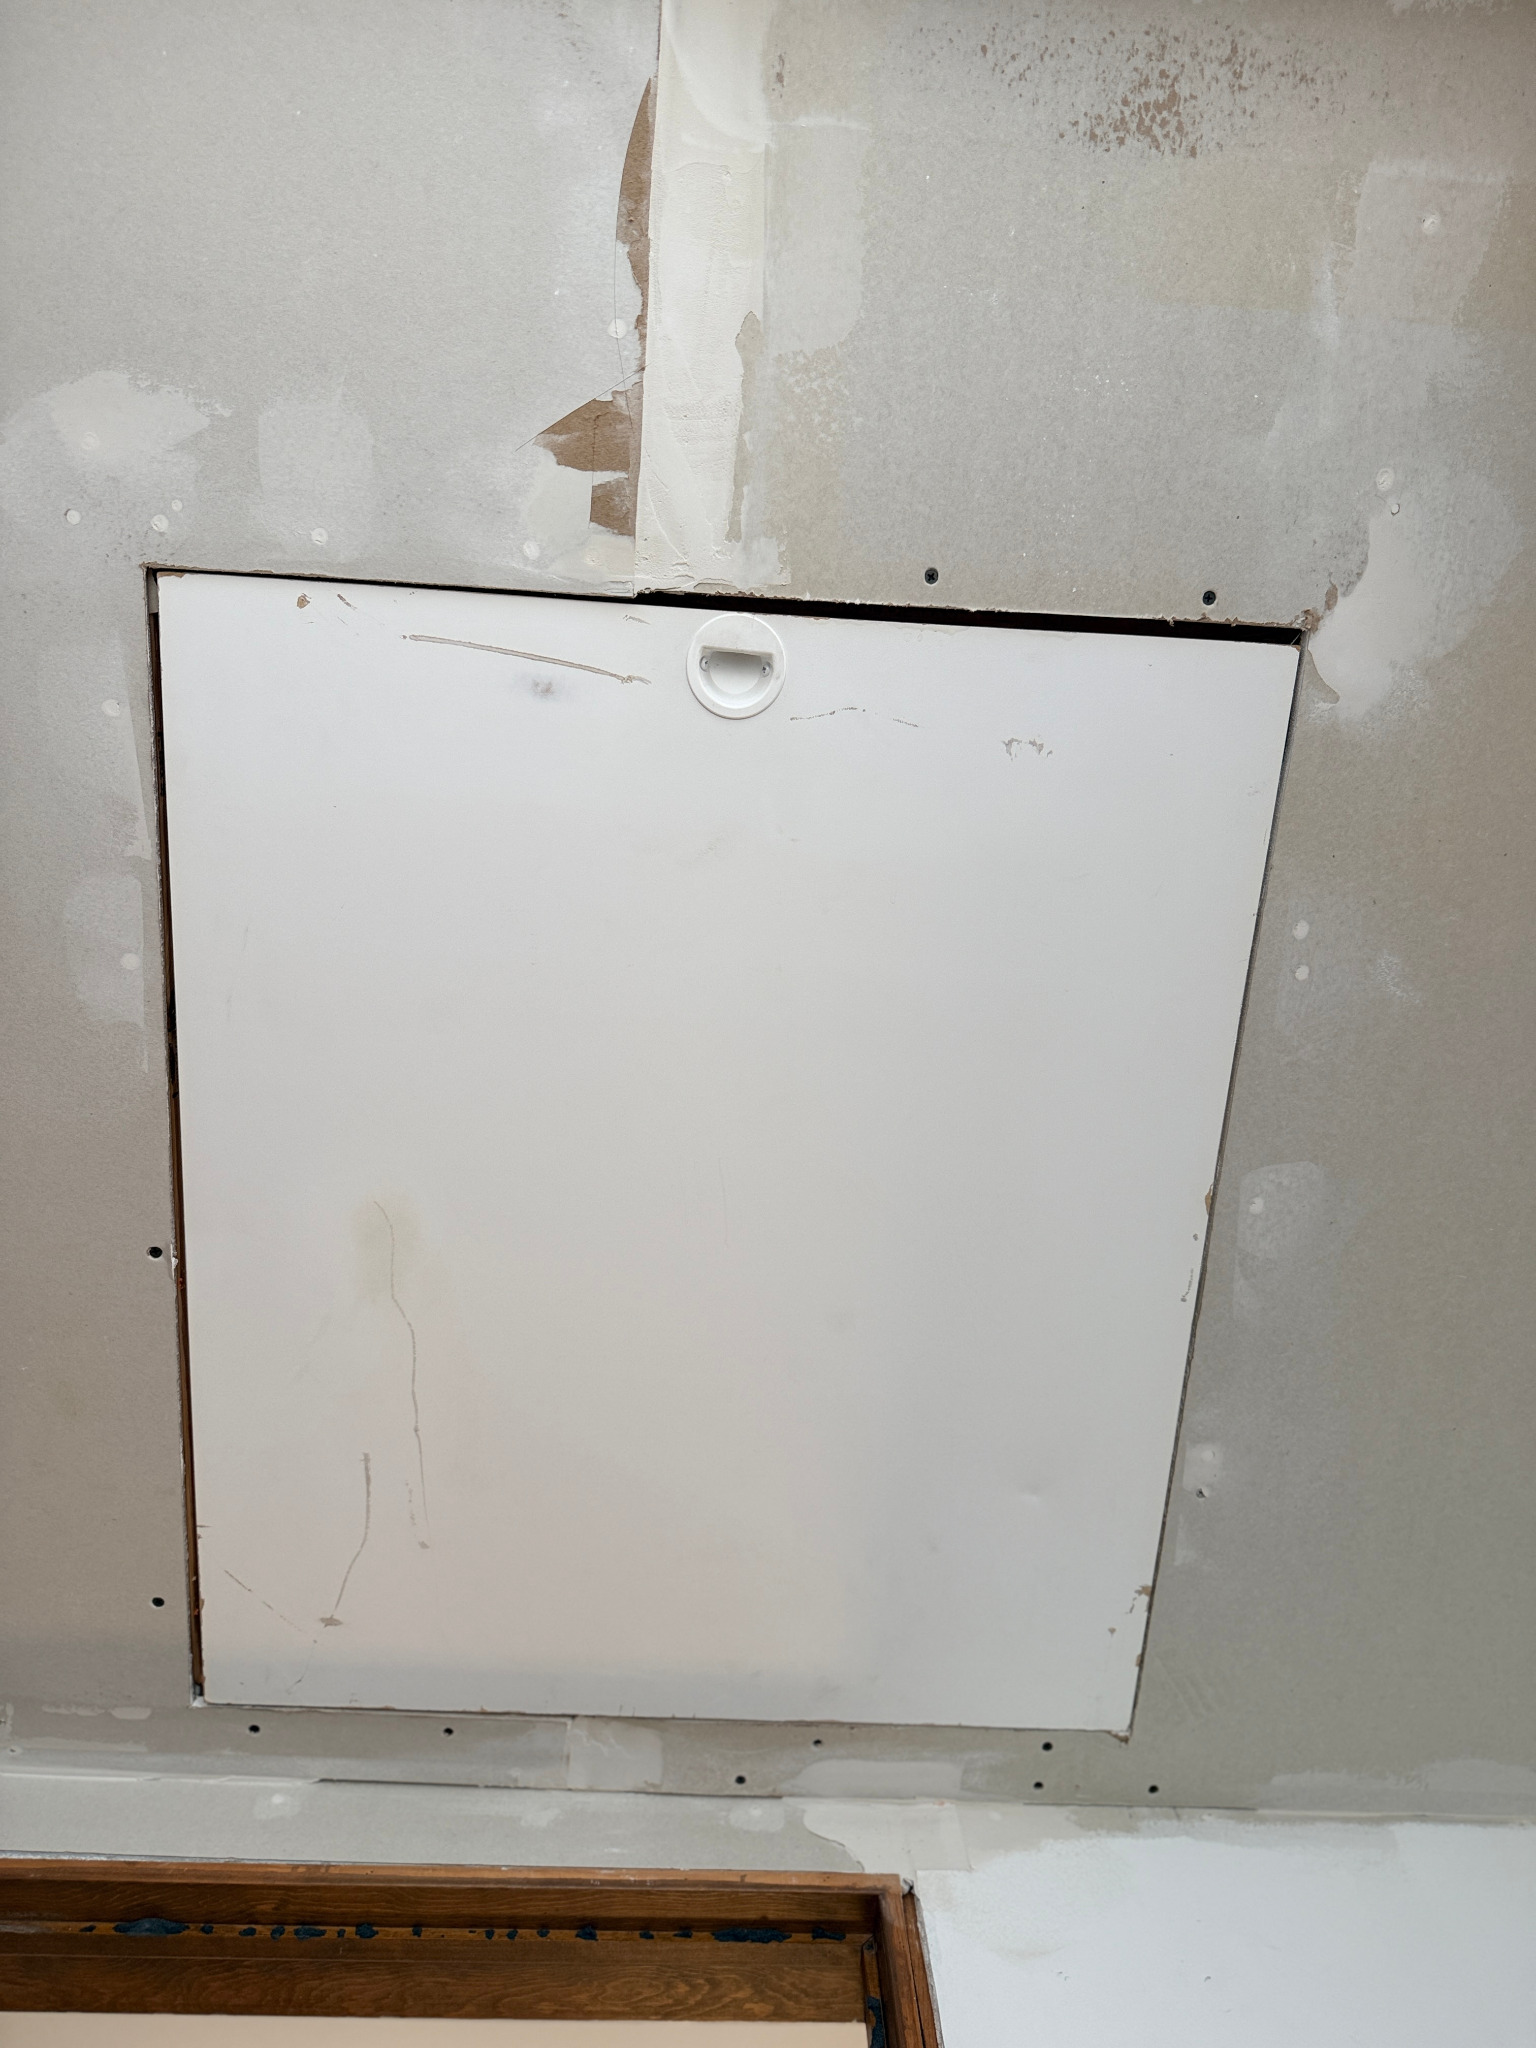
LST installed before finishing the surrounding drywall.
LST frame and drywall edge
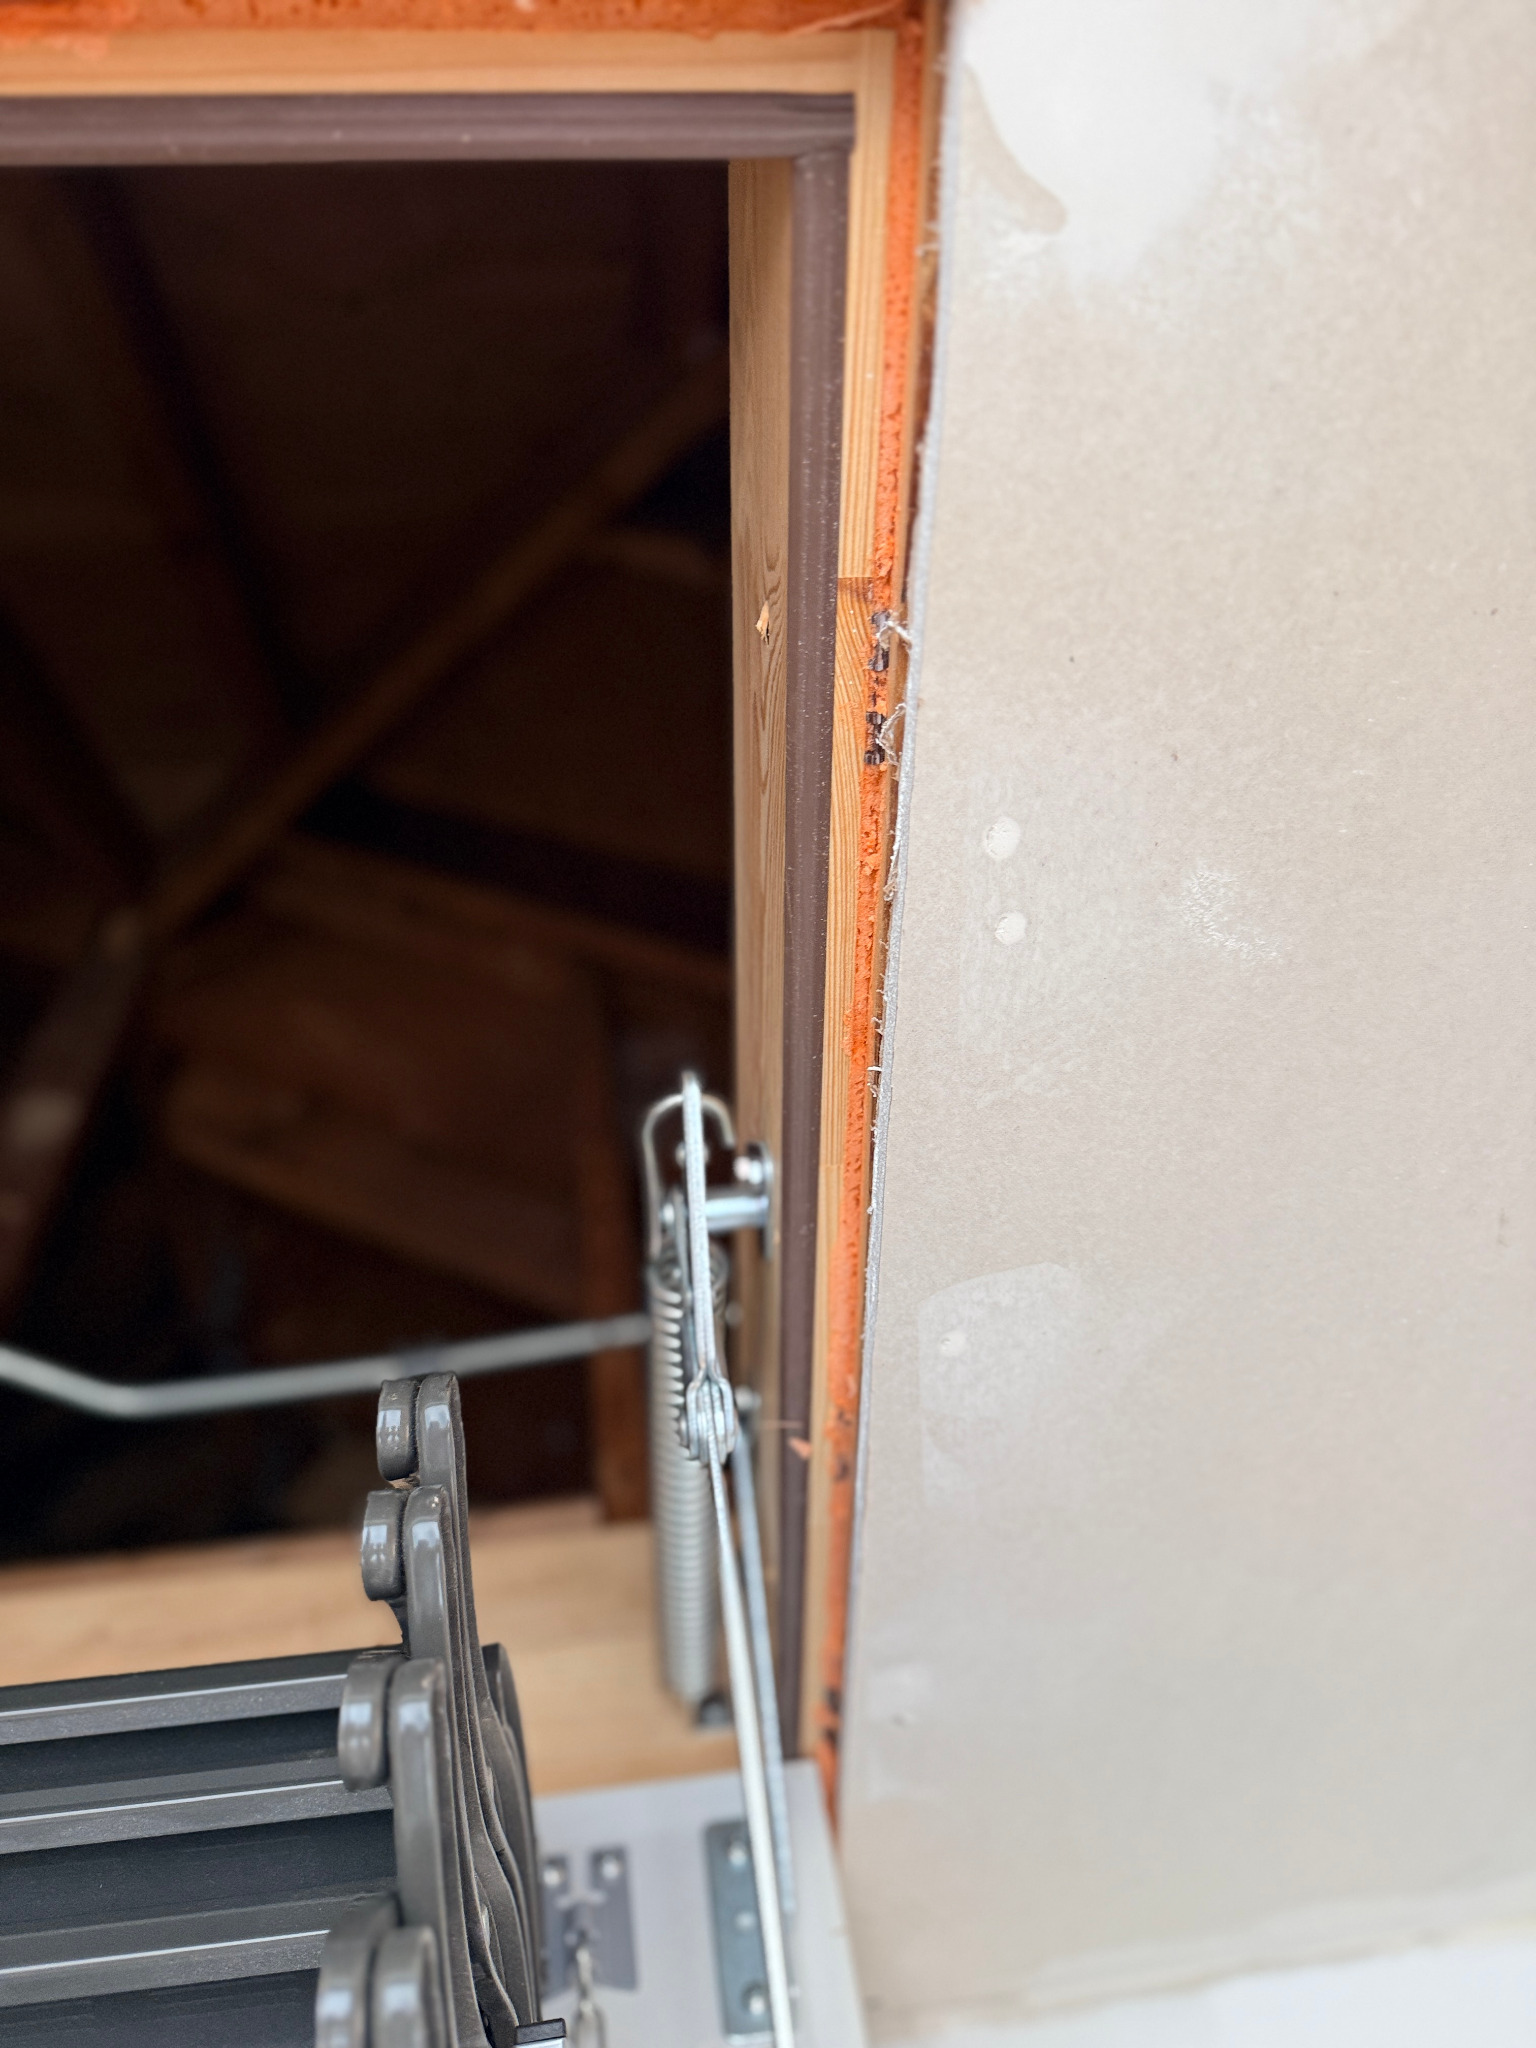
Drywall edge alongside the LST frame.
Fit the drywall L-bead
Follow the steps below:
- Choose a paintable drywall L-bead sized for the ceiling drywall.
- Cut and dry-fit the drywall L-bead on all four sides of the opening. Align the corners and leave a small, even gap around the door.
- Attach the drywall L-bead to the drywall according to the bead manufacturer’s instructions.
Continue with Finish the ceiling.
Drywall L-bead with a perforated flange for joint compound.
Checking the corner fit before attaching the drywall L-bead.
Drywall L-bead
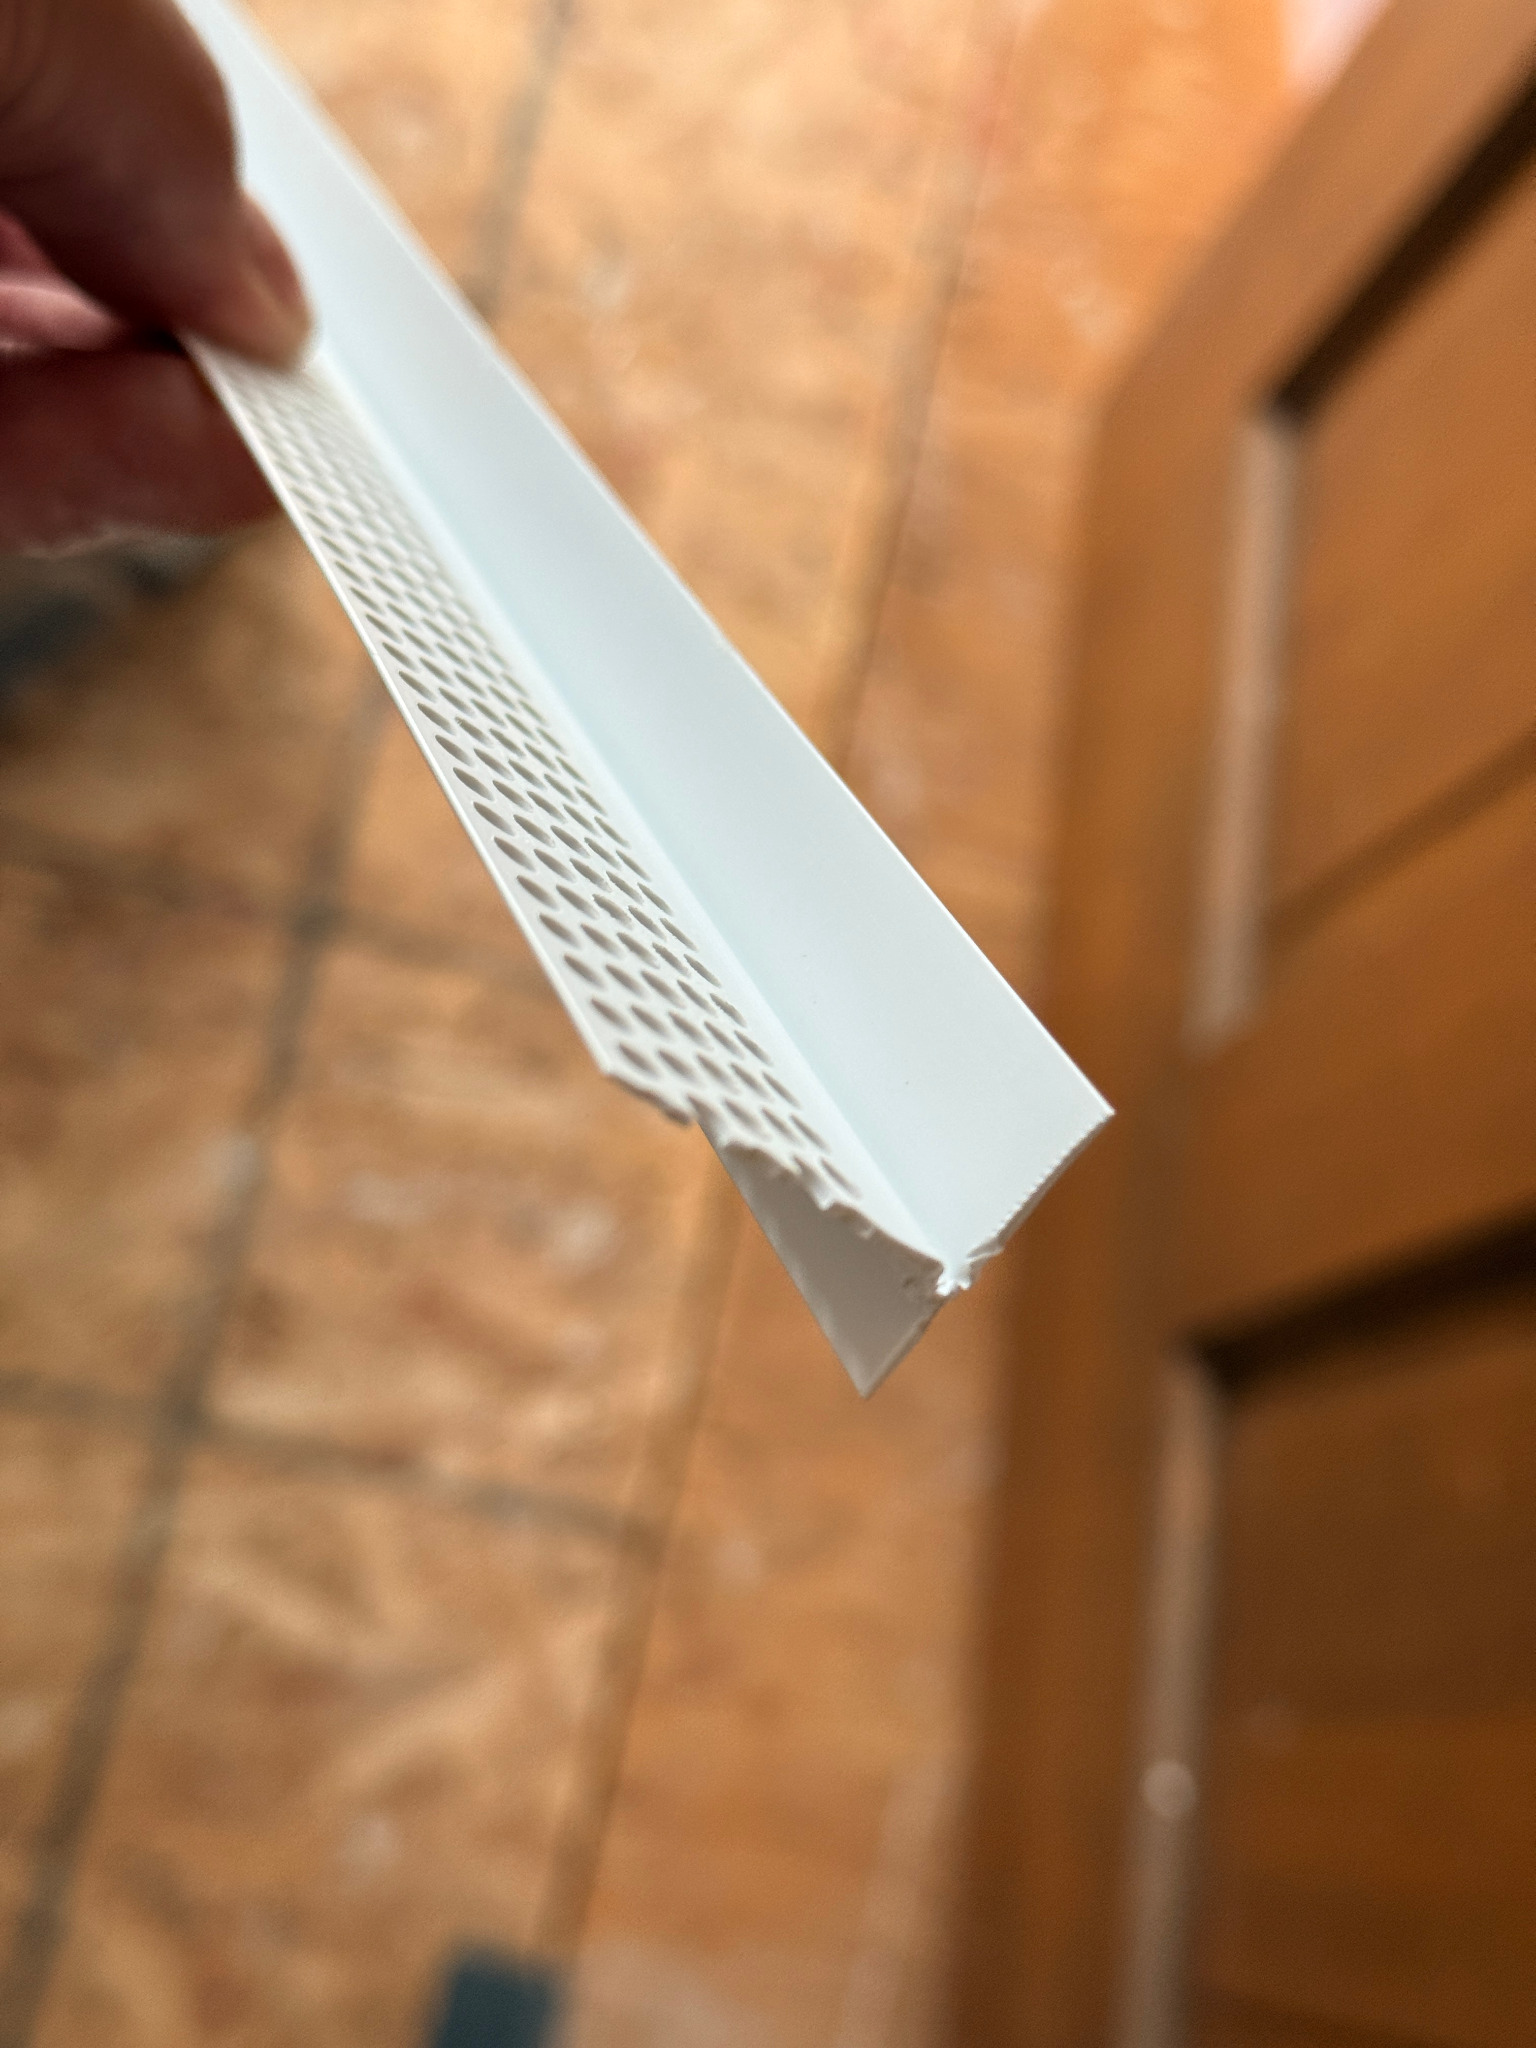
Drywall L-bead with a perforated flange for joint compound.
Drywall L-bead corner fit
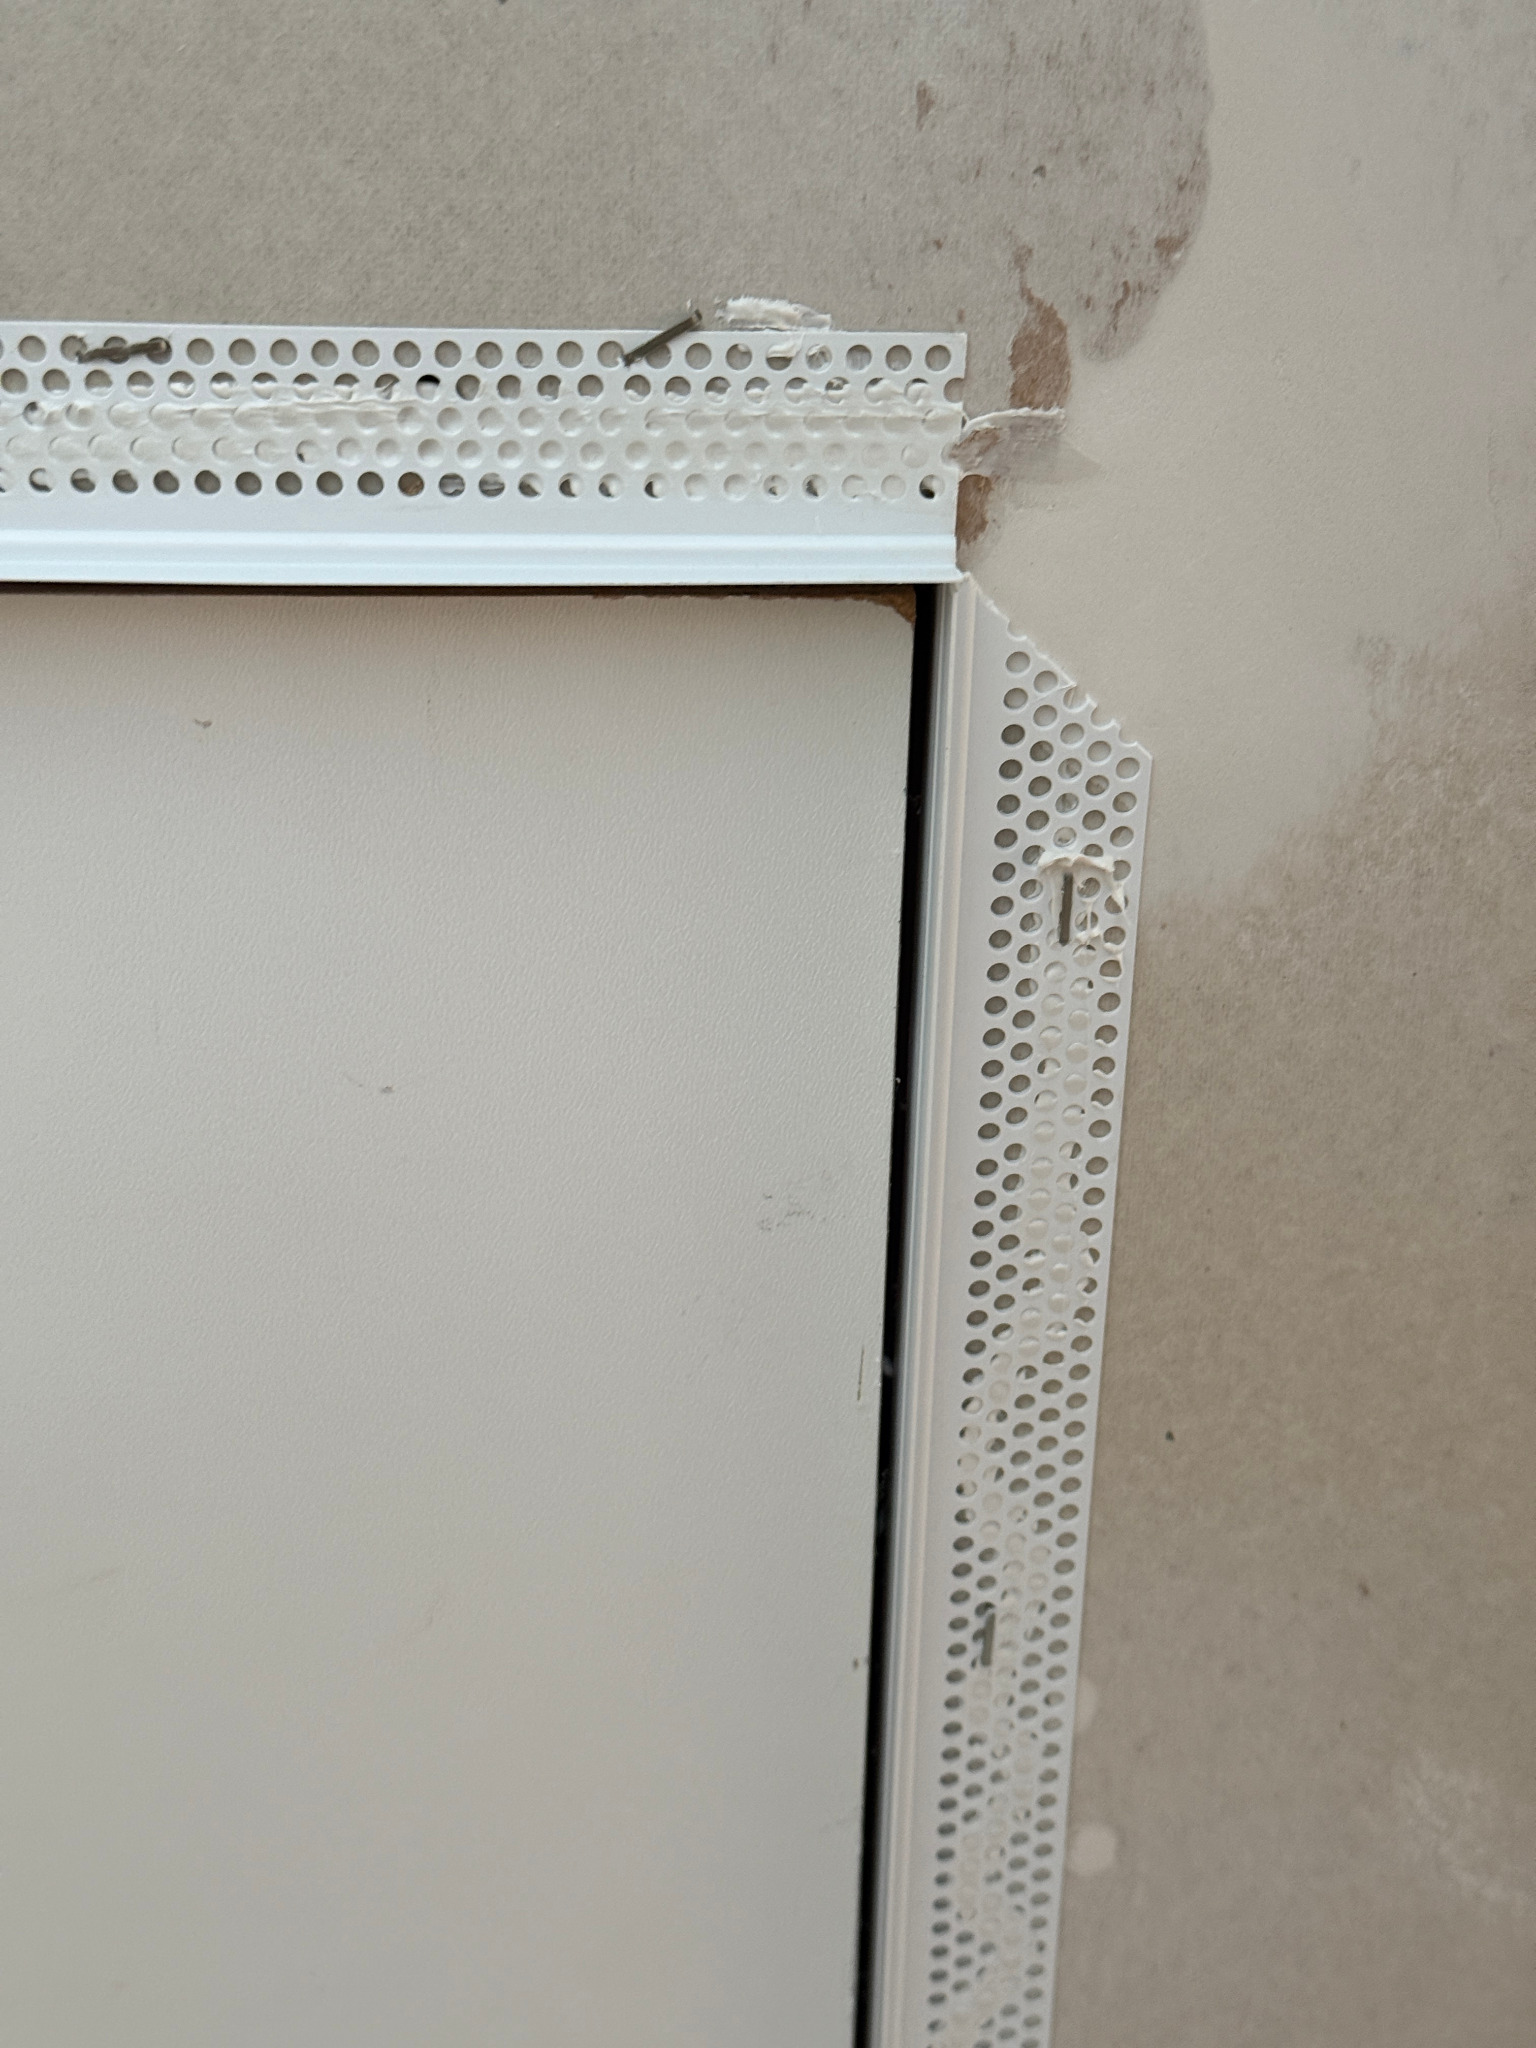
Checking the corner fit before attaching the drywall L-bead.
Finish the ceiling
Feather the joint compound over the perforated flange of the drywall L-bead and out onto the ceiling. Once the joint compound is dry, sand, prime, and paint.
Keep joint compound and paint out of the gap around the door and off the gasket and moving hardware.
Joint compound applied over the drywall L-bead before painting.
The finished gap around the closed door.
Joint compound before painting
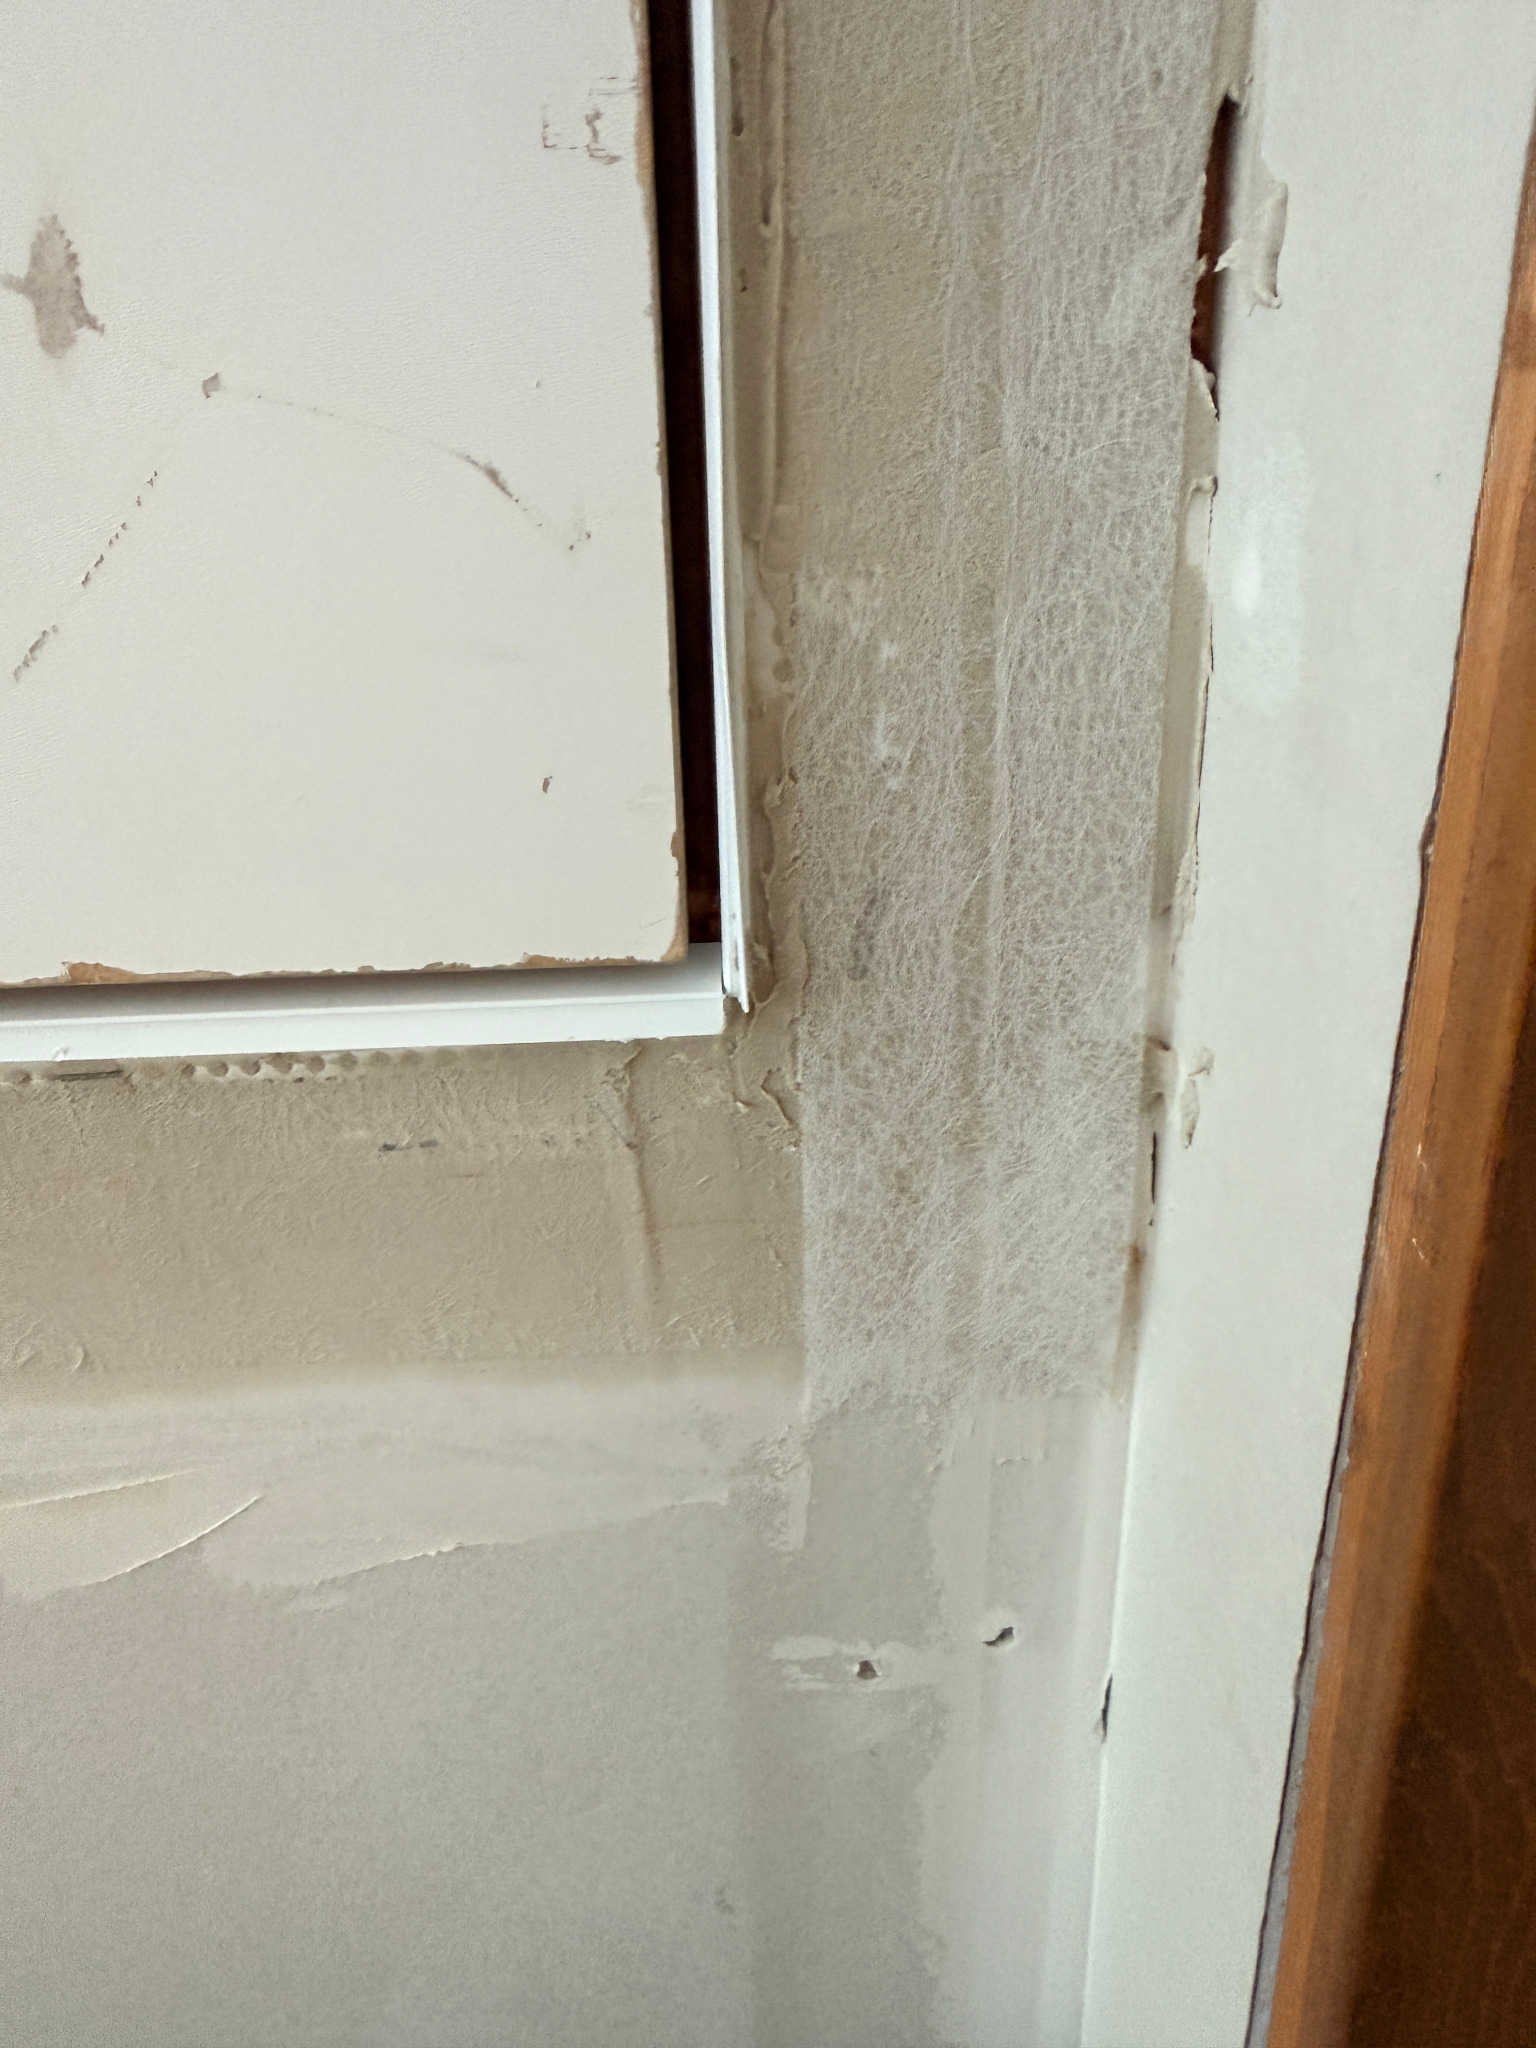
Joint compound applied over the drywall L-bead before painting.
Finished LST door
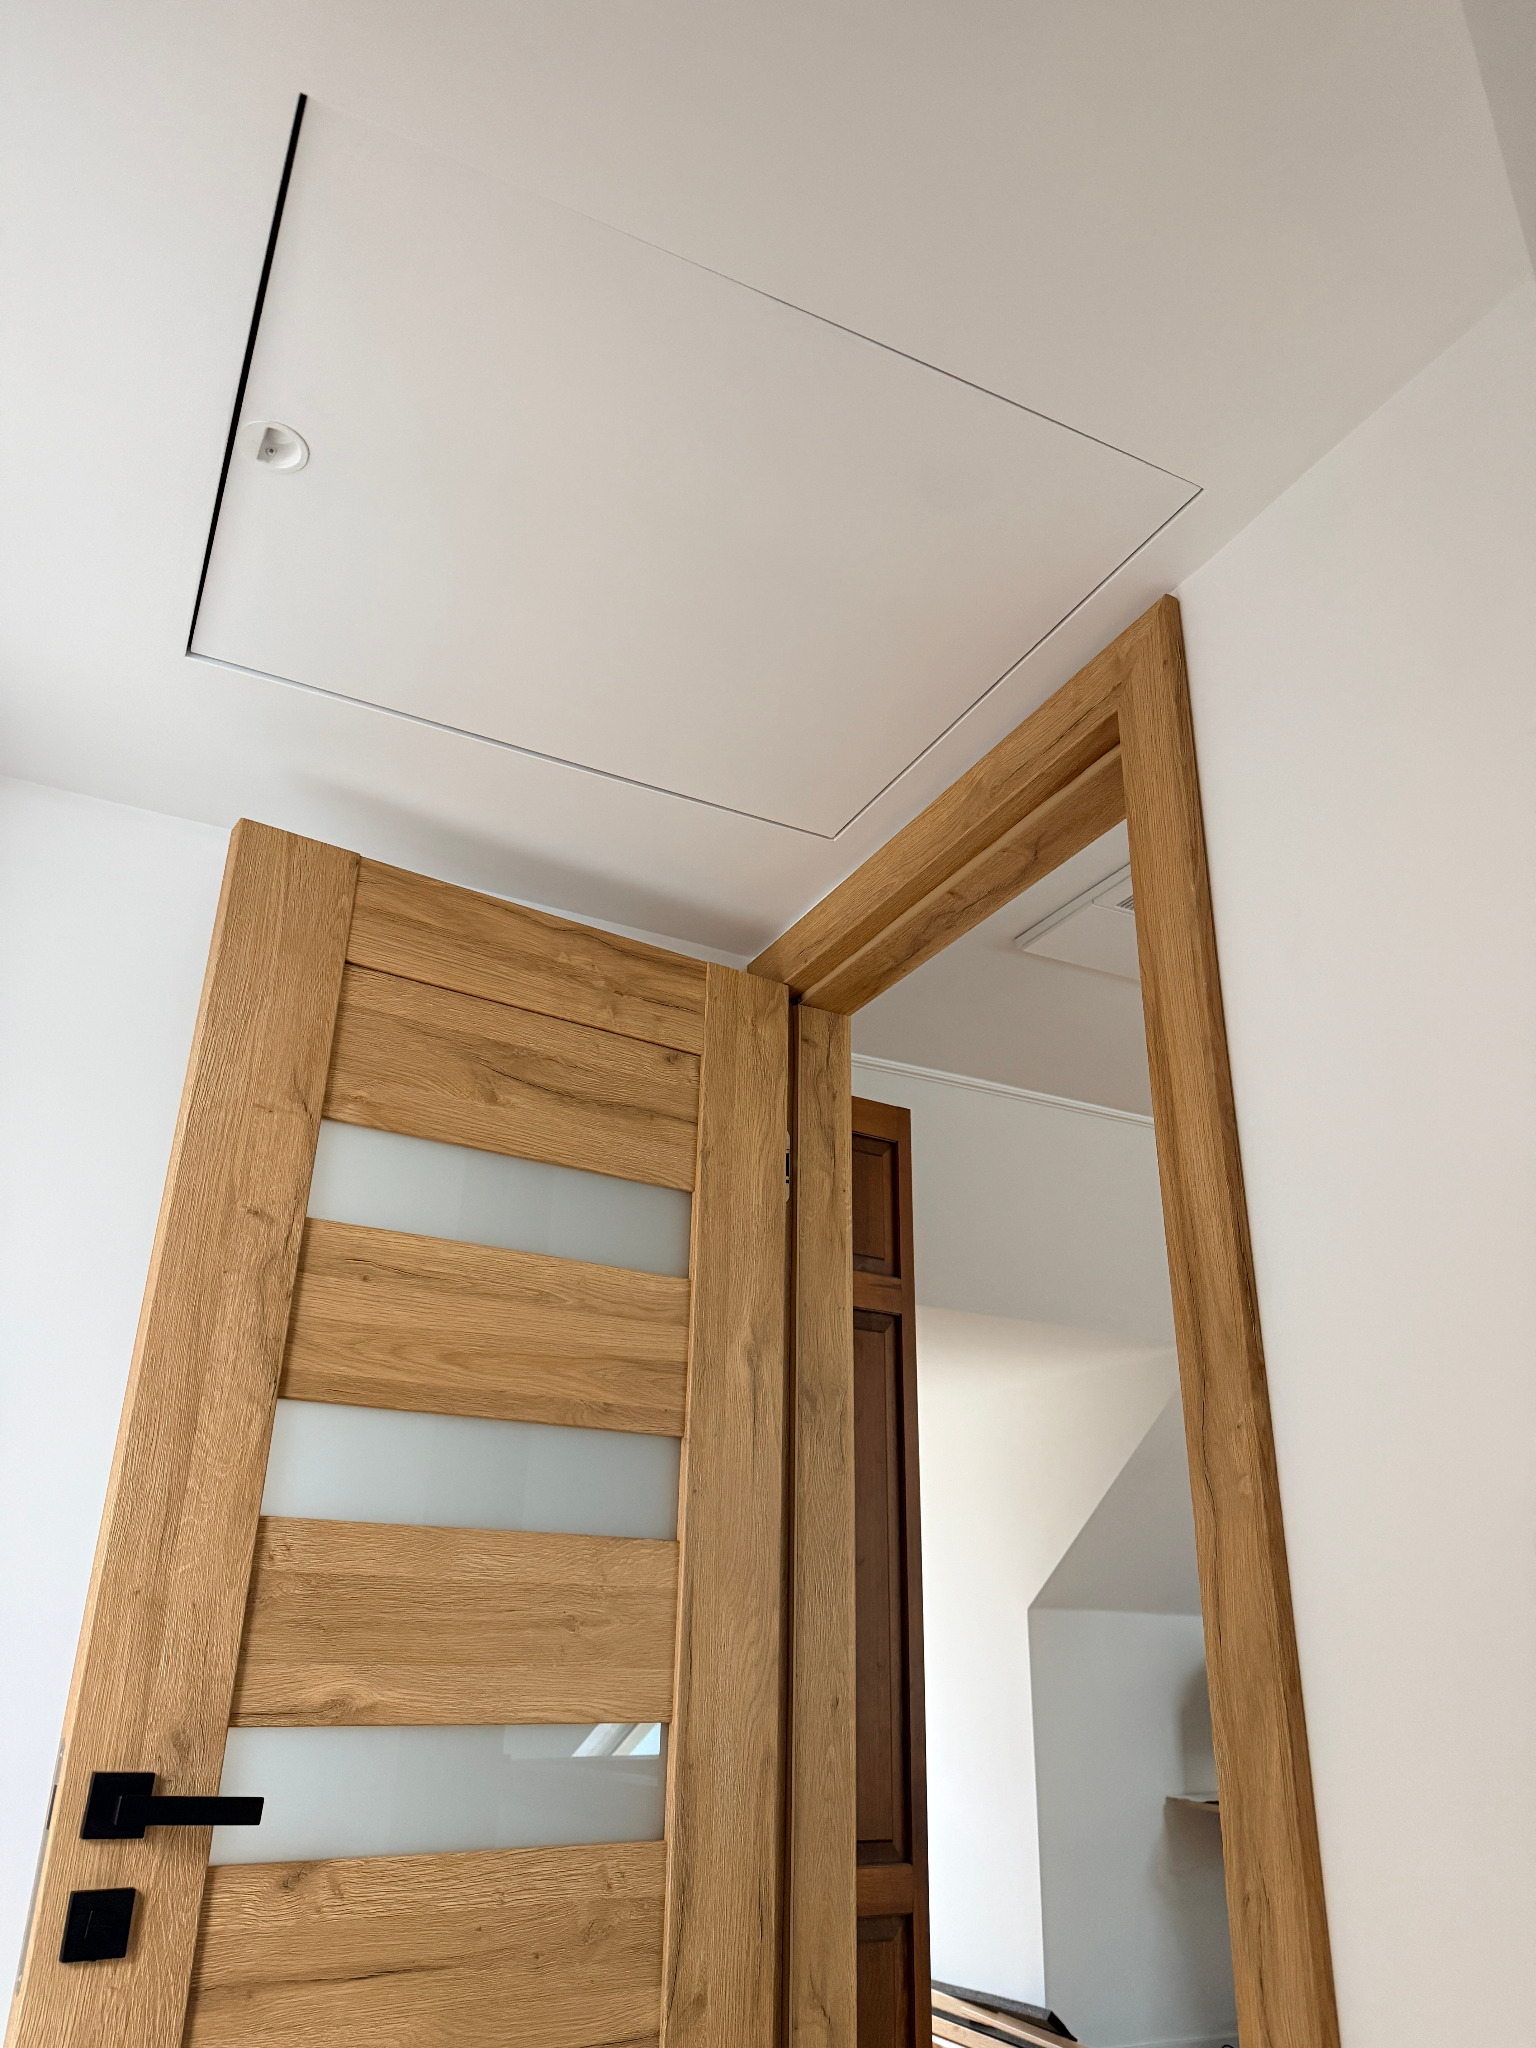
The finished gap around the closed door.
Technical support
If you have any questions, our technical support team can help.


